
Thank you for choosing FishView! This guide walks you through a quick and safe installation. It takes about 5 minutes, and we hope FishView brings you many joyful moments.
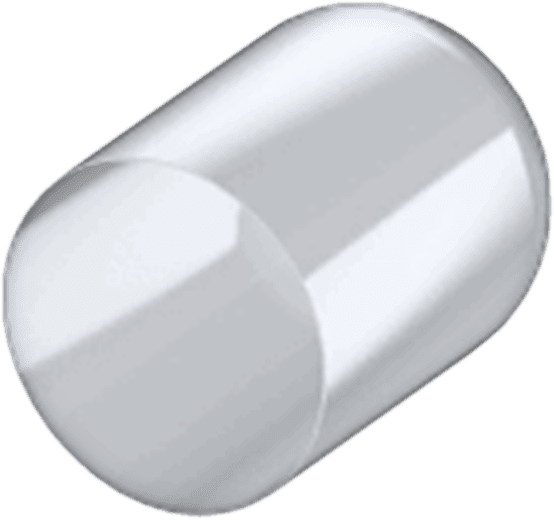
Plexiglass dome
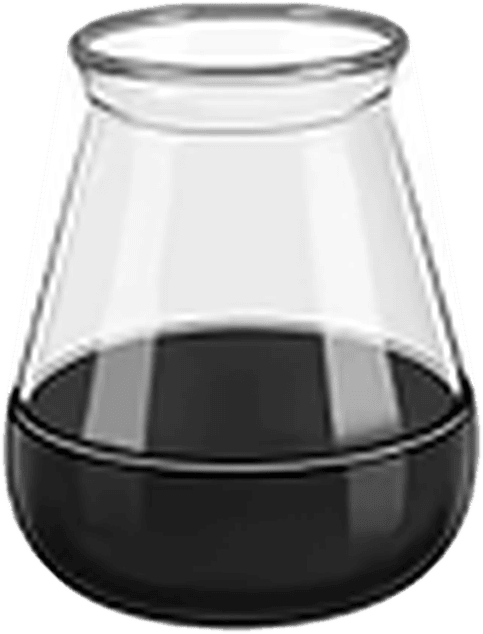
x3 Rubber feet
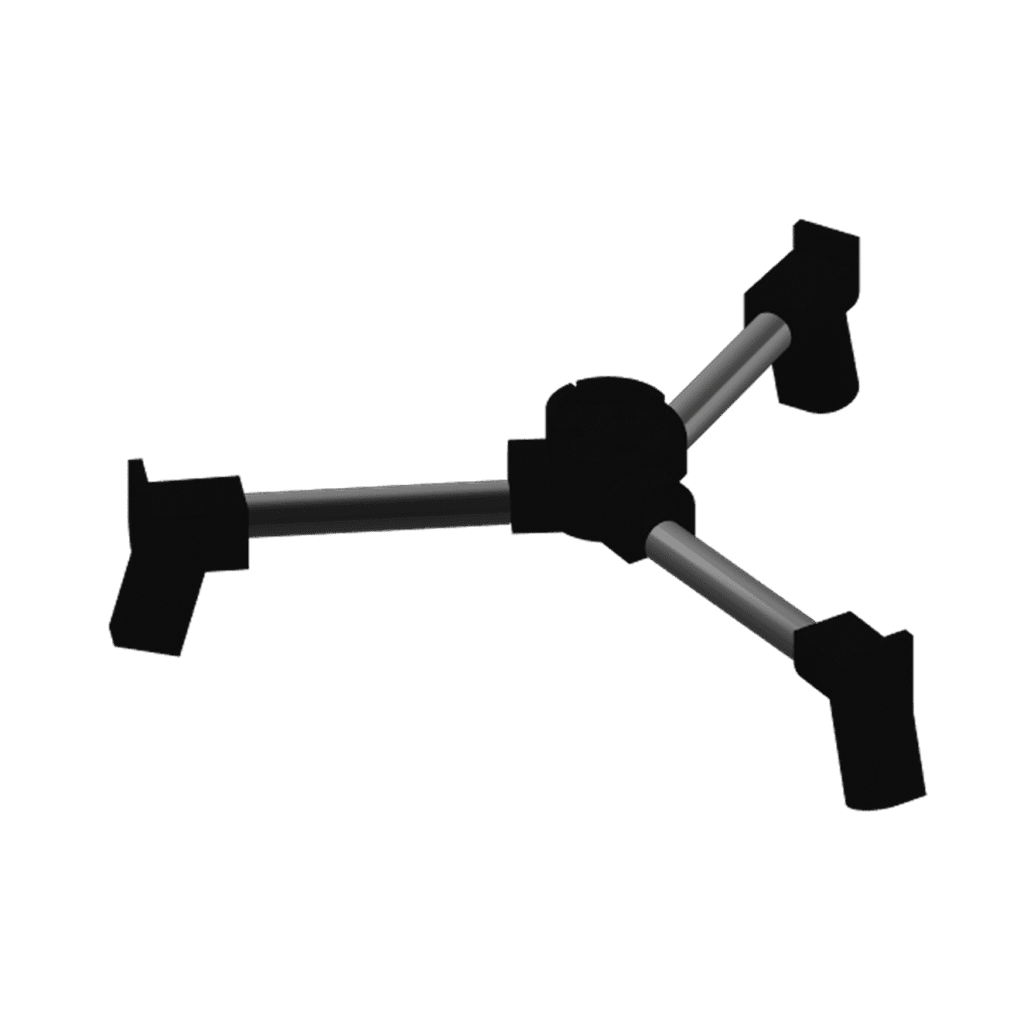
Polycarbonate base
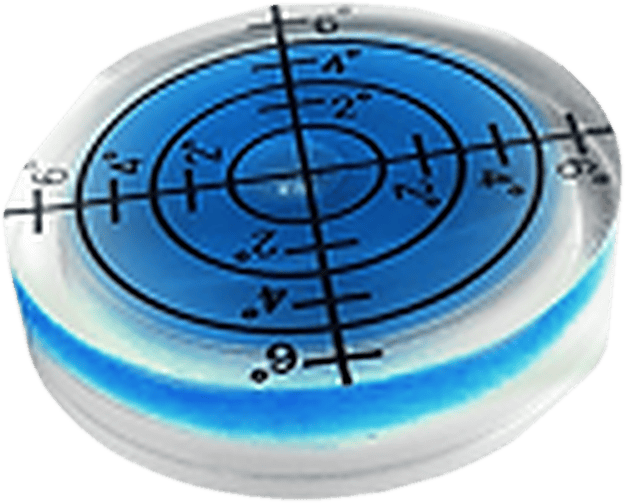
Bubble level
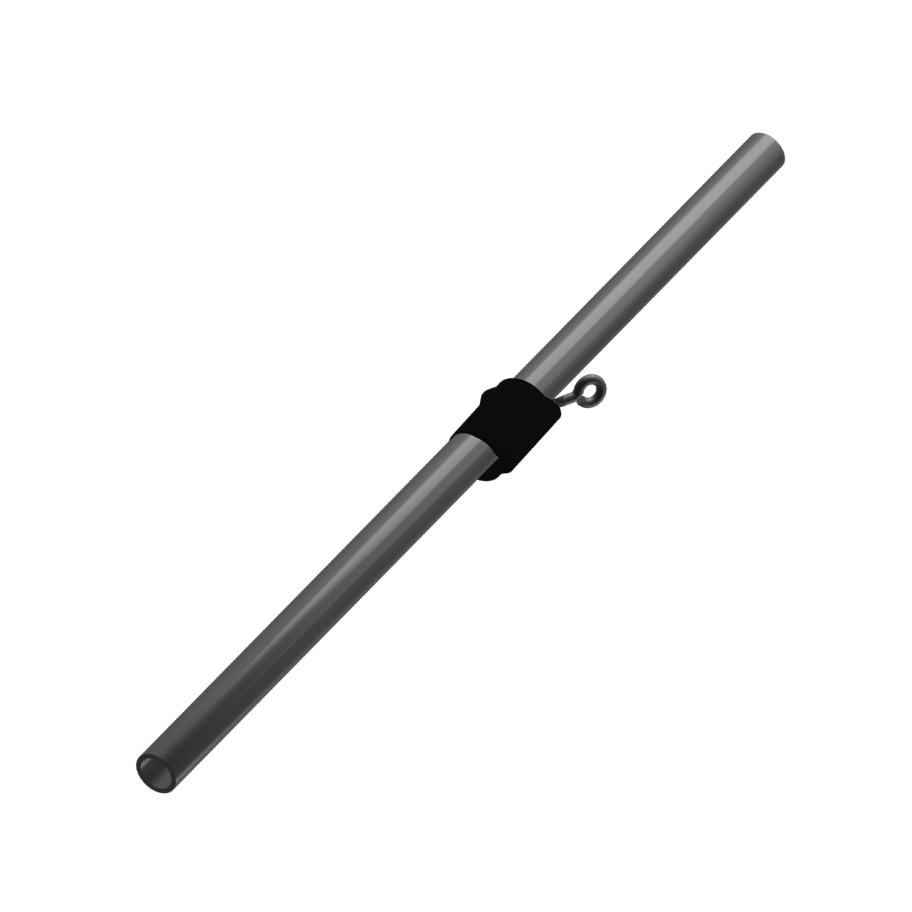
x3 Aluminium legs
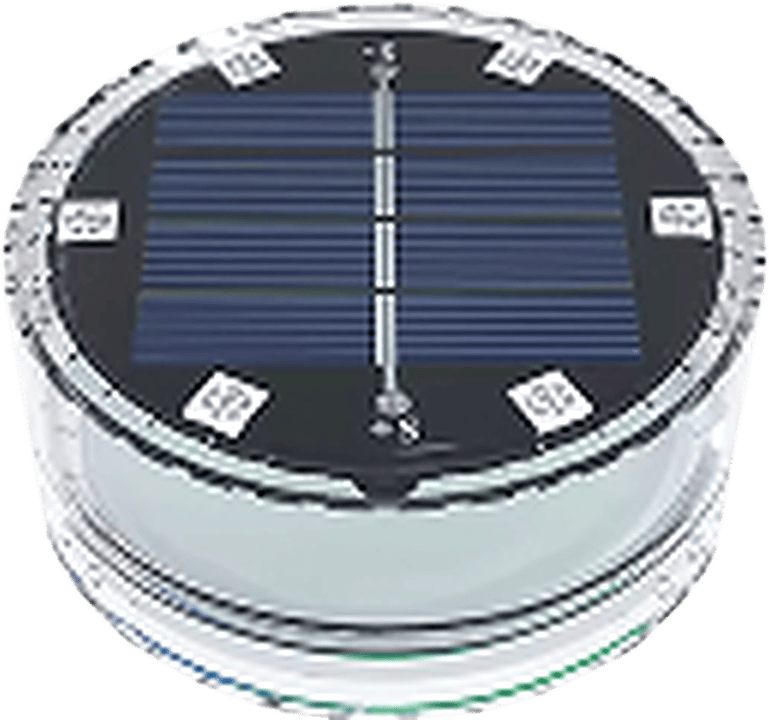
Solar lamp* (Standard)
LED light (Mini)
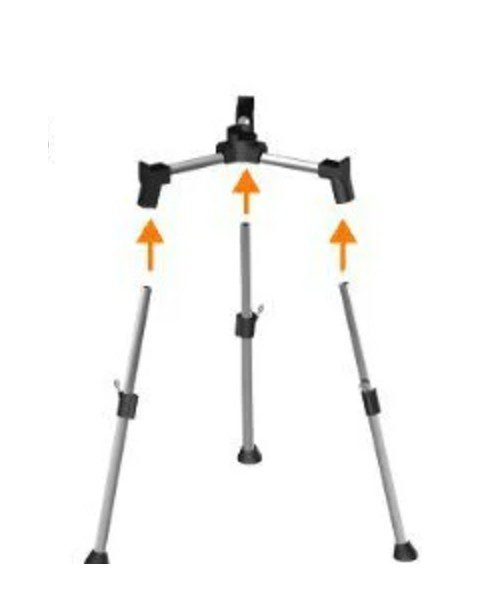
Insert the legs into the base and adjust their length to the depth of your pond.
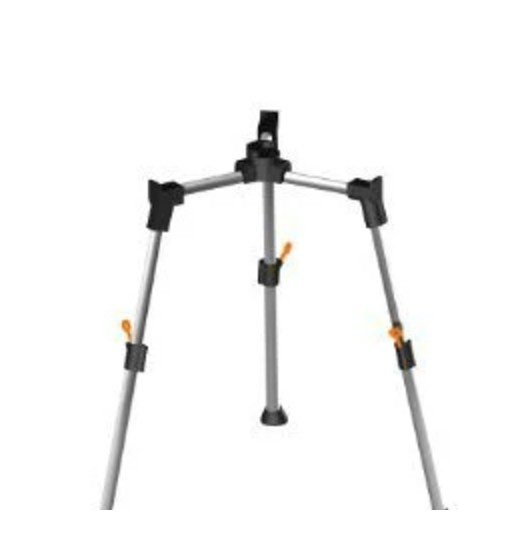
Tighten the 3 bolts. They are already inserted in the legs.
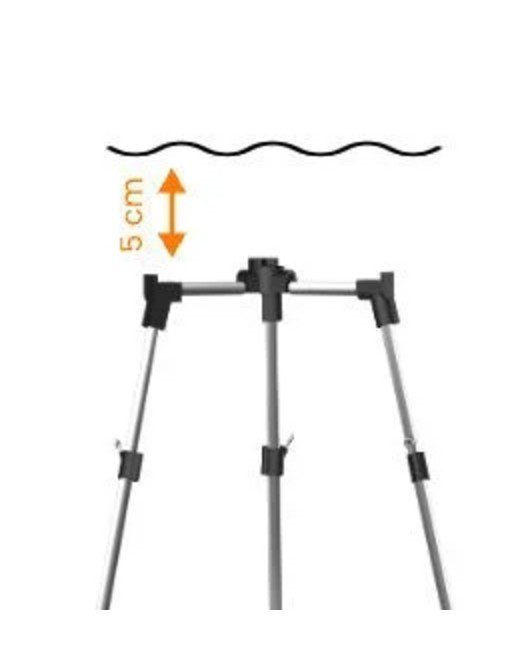
Put the base in the pond. The top of the base should be about 5 cm under the water surface.
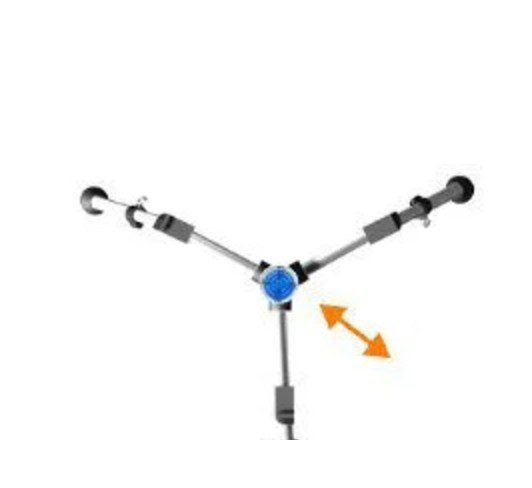
Put the bubble level in the centre of the base and adjust the legs until the bubble is in the middle. Then replace the bubble level with the light (or a GoPro).
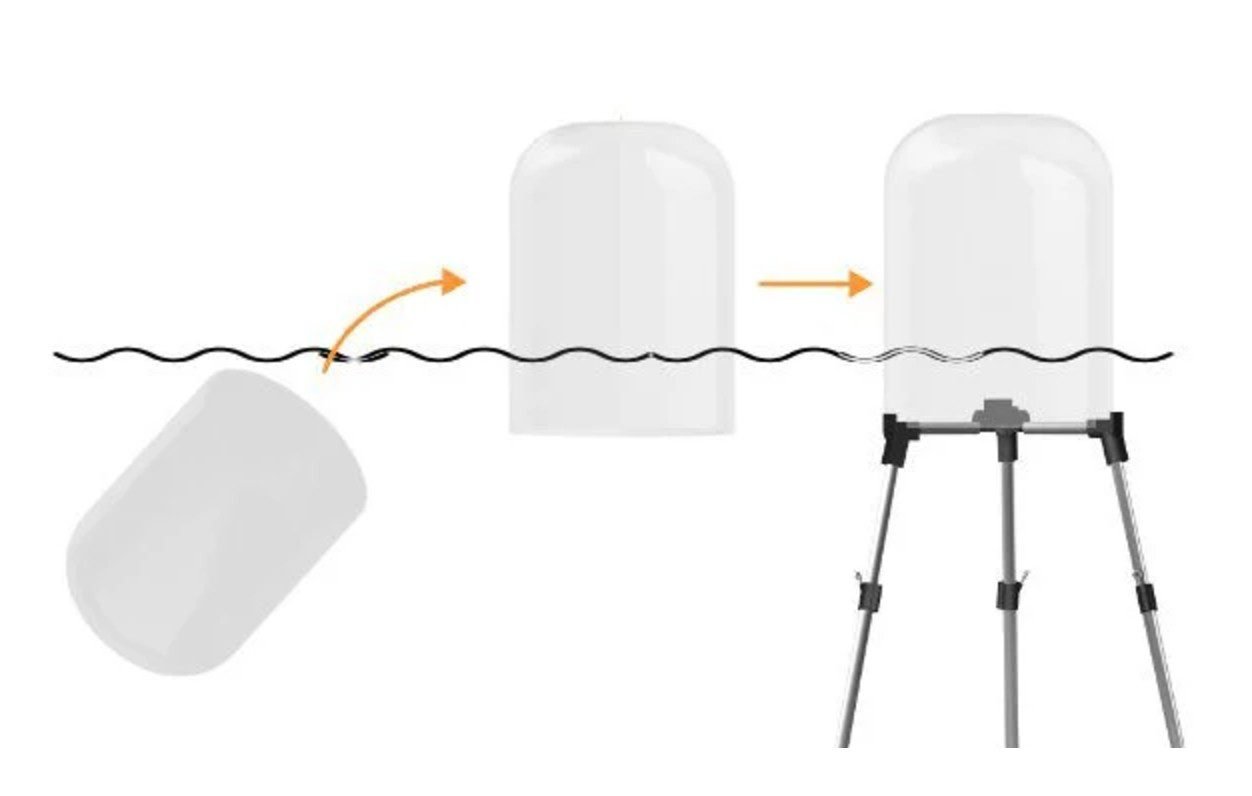
Fill the dome with pond water and hold it upright, making sure no air bubbles remain inside. Place it on the base while keeping the edges fully under water.
Fish may need a few days to explore the dome. To speed this up, put some floating food pellets inside to attract them and keep the dome in one spot. A sunny location helps too, because fish enjoy warmer water.
• Keep an eye on how fish and other animals interact with the dome, to make sure they are safe.
• Fish may take a few days or more to start using the dome.
• Take FishView out of the pond if freezing or severe weather is expected.
• Clean it only with a soft microfibre cloth, to avoid scratches.
• Do not lean or sit on the dome, and do not put heavy objects on it.
Questions or feedback? We would love to hear from you: maria@fishview.garden